
Giỏ hàng của bạn đang trống!
KHUYẾN MÃI


Hướng dẫn sử dụng LCD Keypad Shield với arduino (MLAB)
Các ví dụ sử dụng LCD Keypad Shield (MLAB) với Arduino
Ví dụ 1:
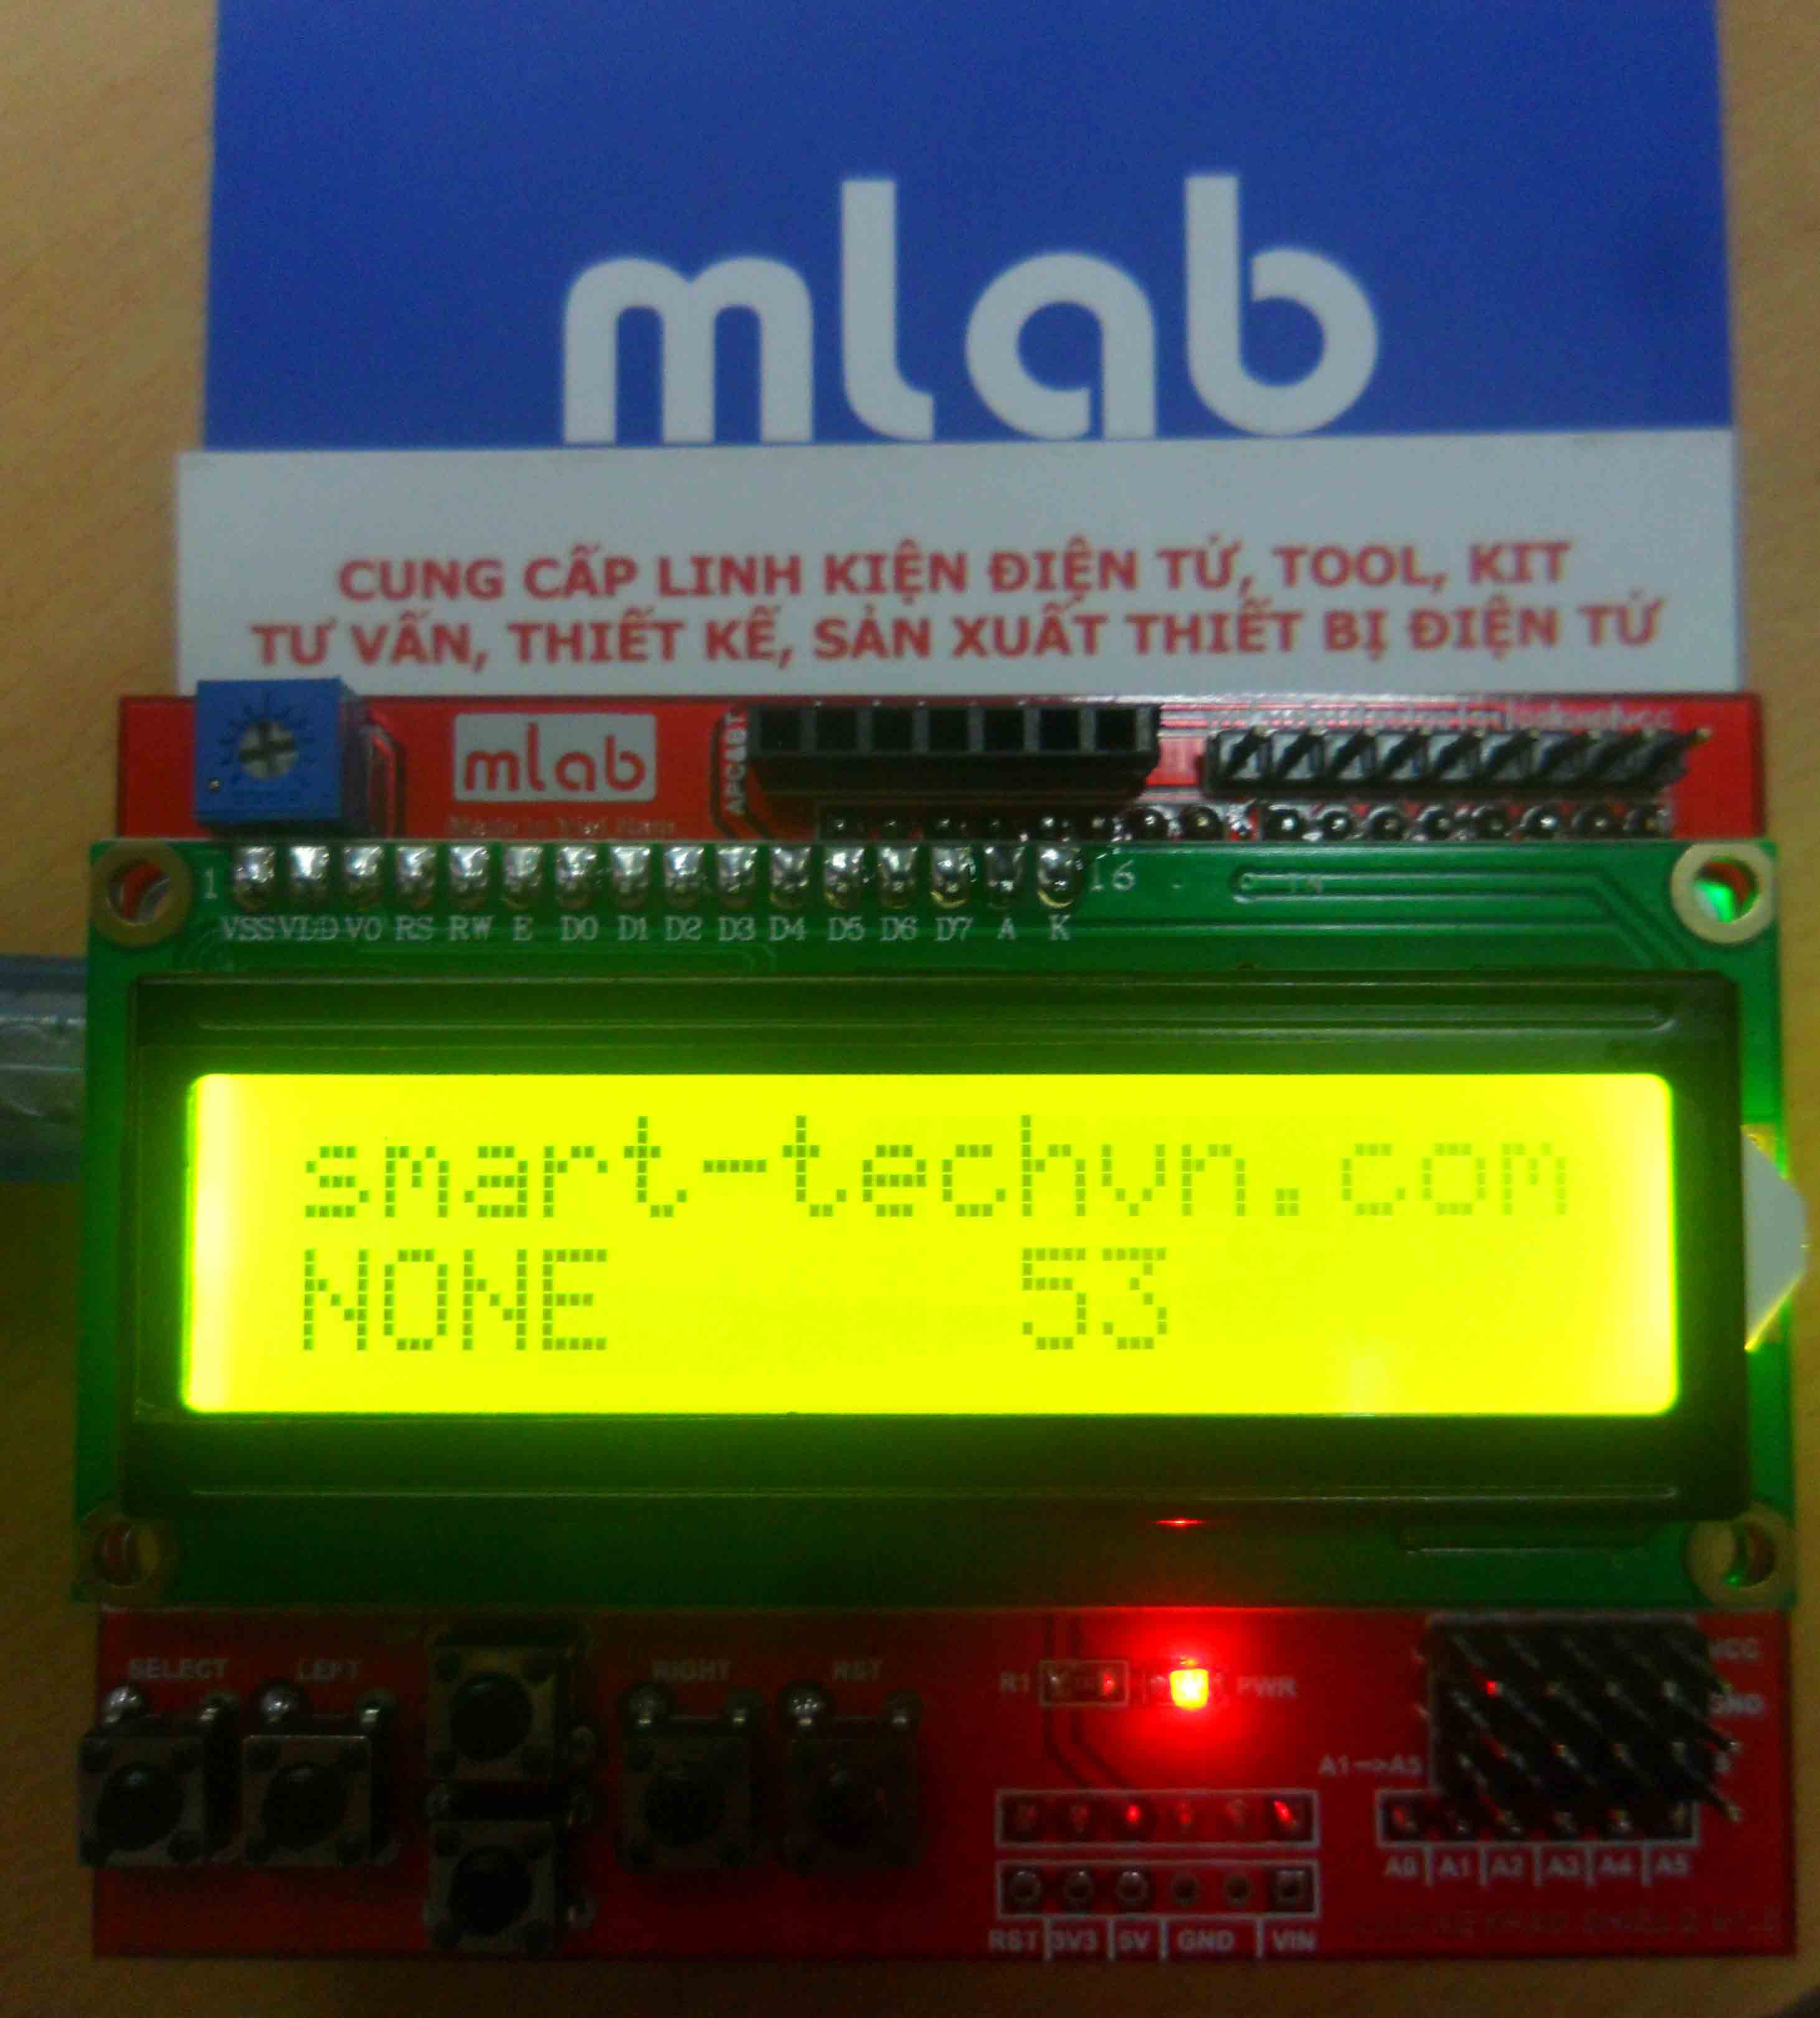
Ví dụ này sẽ kiểm tra màn hình LCD và các phím bấm. Khi bấm phím màn hình sẽ hiển thị thông tin của phím bấm tương ứng
Code mẫu:
/*************************************************************************************
Mark Bramwell, July 2010
This program will test the LCD panel and the buttons.When you push the button on the shield,
the screen will show the corresponding one.
Connection: Plug the LCD Keypad to the UNO(or other controllers)
**************************************************************************************/
#include <LiquidCrystal.h>
LiquidCrystal lcd(8, 9, 4, 5, 6, 7); // select the pins used on the LCD panel
// define some values used by the panel and buttons
int lcd_key = 0;
int adc_key_in = 0;
#define btnRIGHT 0
#define btnUP 1
#define btnDOWN 2
#define btnLEFT 3
#define btnSELECT 4
#define btnNONE 5
int read_LCD_buttons(){ // read the buttons
adc_key_in = analogRead(0); // read the value from the sensor
// my buttons when read are centered at these valies: 0, 144, 329, 504, 741
// we add approx 50 to those values and check to see if we are close
// We make this the 1st option for speed reasons since it will be the most likely result
if (adc_key_in > 1000) return btnNONE;
// For V1.1 us this threshold
if (adc_key_in < 50) return btnRIGHT;
if (adc_key_in < 250) return btnUP;
if (adc_key_in < 450) return btnDOWN;
if (adc_key_in < 650) return btnLEFT;
if (adc_key_in < 850) return btnSELECT;
// For V1.0 comment the other threshold and use the one below:
/*
if (adc_key_in < 50) return btnRIGHT;
if (adc_key_in < 195) return btnUP;
if (adc_key_in < 380) return btnDOWN;
if (adc_key_in < 555) return btnLEFT;
if (adc_key_in < 790) return btnSELECT;
*/
return btnNONE; // when all others fail, return this.
}
void setup(){
lcd.begin(16, 2); // start the library
lcd.setCursor(0,0); // set the LCD cursor position
lcd.print("mlab.vn"); // print a simple message on the LCD
}
void loop(){
lcd.setCursor(9,1); // move cursor to second line "1" and 9 spaces over
lcd.print(millis()/1000); // display seconds elapsed since power-up
lcd.setCursor(0,1); // move to the begining of the second line
lcd_key = read_LCD_buttons(); // read the buttons
switch (lcd_key){ // depending on which button was pushed, we perform an action
case btnRIGHT:{ // push button "RIGHT" and show the word on the screen
lcd.print("RIGHT ");
break;
}
case btnLEFT:{
lcd.print("LEFT "); // push button "LEFT" and show the word on the screen
break;
}
case btnUP:{
lcd.print("UP "); // push button "UP" and show the word on the screen
break;
}
case btnDOWN:{
lcd.print("DOWN "); // push button "DOWN" and show the word on the screen
break;
}
case btnSELECT:{
lcd.print("SELECT"); // push button "SELECT" and show the word on the screen
break;
}
case btnNONE:{
lcd.print("NONE "); // No action will show "None" on the screen
break;
}
}
}
Ví dụ 2:
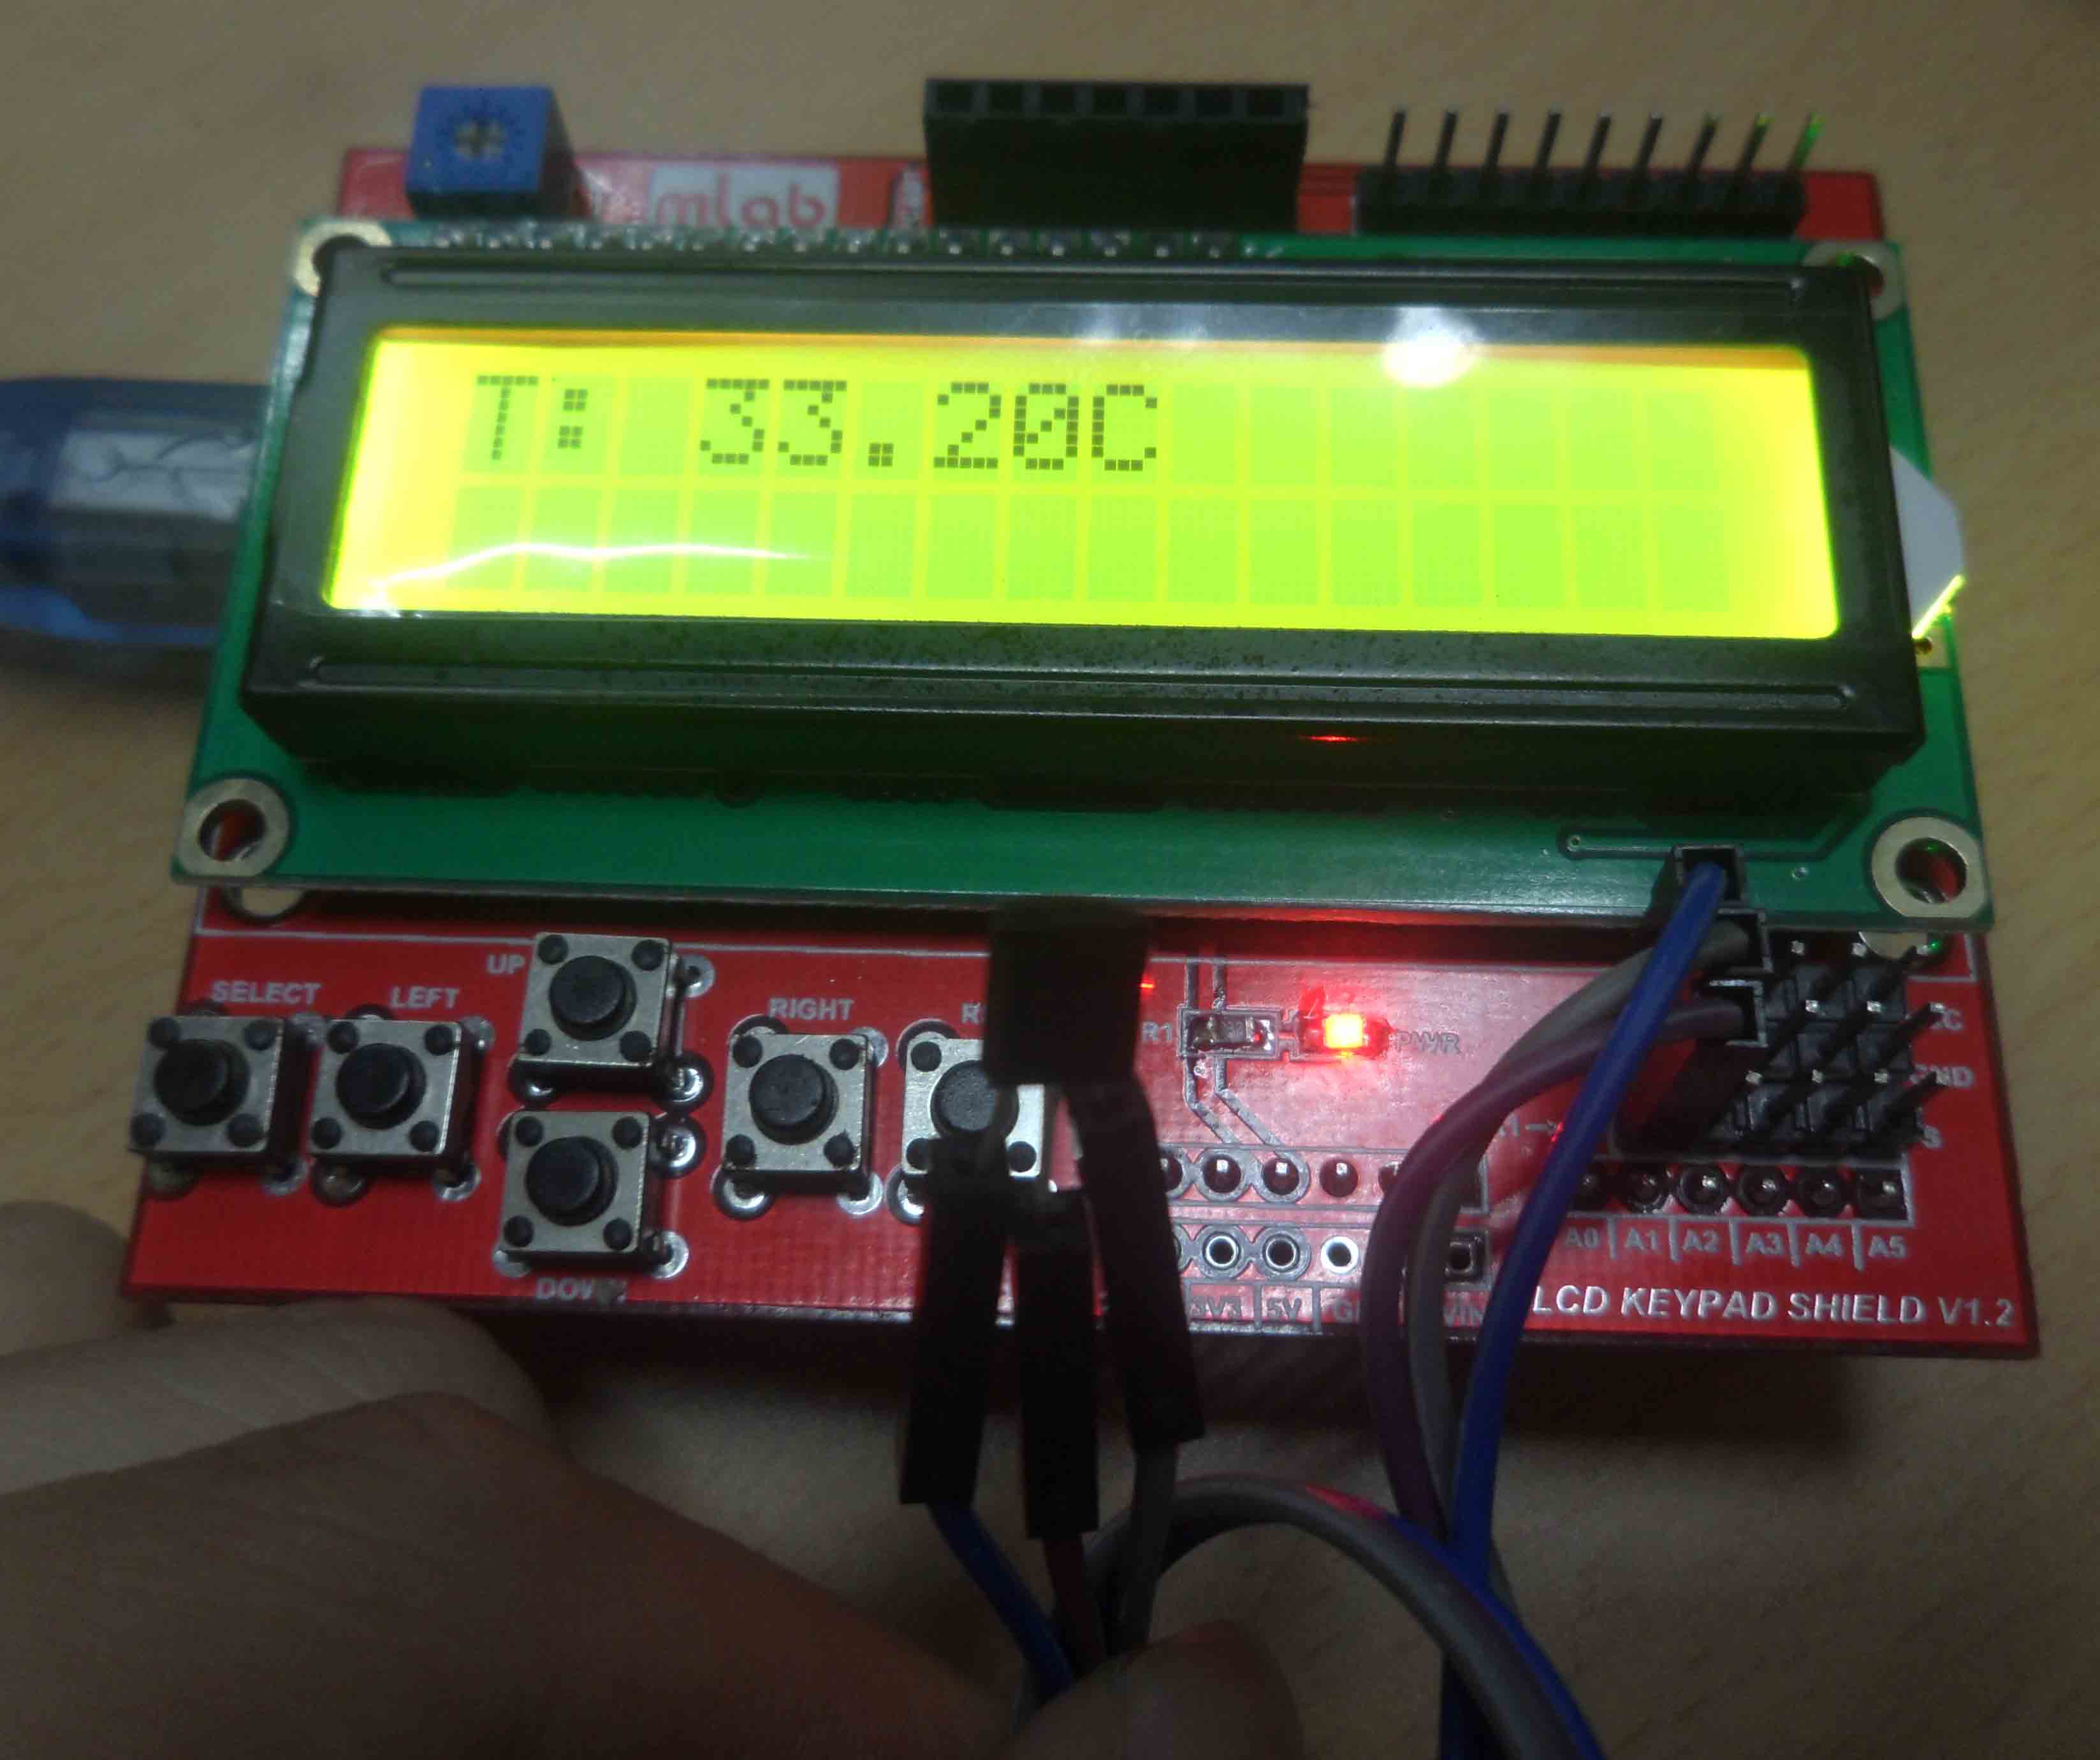
Đưa thông tin nhiệt độ đọc được từ cảm biến nhiệt độ LM35 lên màn hình LCD
Ở ví dụ này, chân tín hiện của LM35 được nối với chân ADC A1 của Arduino.
Code mẫu:
/*******************************************************
Description:
Reads an analog input on pin 1, prints the result to the LCD.
This program takes the temperture sensor LM35 for example.
Connection:
Plug the LCD Keypad to the UNO(or other controllers)
Temperture sensor:
S(blue) -- A1()
Note: A0 has been occupied.
VCC(red) -- VCC
GND(black) -- GND
********************************************************/
#include <LiquidCrystal.h>
LiquidCrystal lcd(8, 9, 4, 5, 6, 7); // select the pins used on the LCD panel
unsigned long tepTimer ;
void setup(){
lcd.begin(16, 2); // start the library
}
void loop(){
lcd.setCursor(0, 0); // set the LCD cursor position
int val; // variable to store the value coming from the analog pin
double data; // variable to store the temperature value coming from the conversion formula
val=analogRead(1); // read the analog in value:
data = (double) val * (5/10.24); // temperature conversion formula
if(millis() - tepTimer > 500){ // output a temperature value per 500ms
tepTimer = millis();
// print the results to the lcd
lcd.print("T: ");
lcd.print(data);
lcd.print("C");
}
}
Viết đánh giá
Họ và tên:Đánh giá của bạn: Lưu ý: Không hỗ trợ HTML!
Bình chọn: Dở Hay
Nhập mã bảo vệ: